Have you ever followed a knitting pattern to the letter, only to end up with a project that is much too big or far too small? The problem might lie in something called gauge. Today, let’s explore the ins and outs of knitting gauge swatches, and I’ll be sharing tips for getting it just right every time.
Please note that this blog post contains affiliate links. If you make a purchase after clicking one of these links, I earn some yarn money at no extra cost to you!
Why Gauge is Important?
Gauge in knitting isn’t just a suggestion. It’s essential for achieving a perfectly fitting garment. Without hitting the correct gauge, you risk ending up with a sweater that’s either too snug or overly baggy, leading to disappointment after investing time and effort into your project. Additionally, gauge issues can result in the project not aligning with your vision, requiring more yarn than expected, or even requiring you to restart halfway through. (Definitely frustrating!)
To dive deeper into why gauge matters, check out the blog post: Do You Really Need to Knit Your Gauge Swatch? Understanding gauge is essential for the success of your knitting projects, so don’t skip this important step.

Tools Needed
Hopefully, now you understand why gauge is so important. So let’s start talking about how to find an accurate gauge. And first up, we have to gather our tools.
Honestly, it’s just pretty simple. Just have your needles ready
-
straight needles for knitting flat
-
circular needles for knitting your swatch in the round
-
measuring tape or ruler
-
gauge swatch ruler (if you want to be fancy)
Knitting Your Gauge Swatch
Once you have your tools ready, it’s time to knit your swatch! Let me give you a step-by-step guide to knitting a super-accurate gauge swatch.
Step 1: Always (ALWAYS) begin by checking the pattern. Some patterns offer specific swatching instructions, and it’s best to follow these to the letter. The designer knows the fabric fit they’re aiming for, and these instructions are tailored to achieve that.
Step 2: You’ll need to determine the number of stitches to cast on. The goal here is to create a swatch that’s larger than 4 in. (10 cm), allowing you to measure the gauge away from the edges where tension isn’t as accurate.
Pro Tip: Multiply the stitch and row numbers of the required gauge by 1.5, which should give you a swatch of 15cm (6”). This gives you a good-sized swatch for an accurate gauge. And if you have a pattern that uses any gauge, I suggest referring to the yarn label’s suggested needle size there. Once you’ve got the numbers, it’s time for the next step.
Step 3: Knit it up! Cast on the number of stitches you’ve calculated and knit using the main stitch pattern of your project. Continue until you reach the row count you’ve determined, then bind off.
Step 4: Blocking, or as I like to call it, The Block Party, and it’s not to be skipped. Soak your swatch, gently squeeze out excess water, and let it dry flat. Blocking stimulates how the fabric will behave after washing and wearing.
Step 5: Finally, this step is to measure your gauge within the center of your swatch, avoiding the edges which can be misleading.
These steps will help you create a gauge swatch that provides a reliable foundation for your knitting project. You know that saying “measure twice, cut once”? In our case, it’s “measure twice, knit once”. So, take your time, enjoy the process, and use it as an opportunity to get a feel for the yarn and needles, and remember that this process will save you a lot of frustration in the future.
Knitting Your Gauge Swatch in the Round
Achieving the correct gauge is crucial in knitting, but it can be tricky due to differences in tension between knit and purl stitches. This becomes especially important when transitioning from knitting flat to knitting in the round, where only knit stitches are used, resulting in potentially looser fabric. To ensure accuracy, it’s essential to knit your gauge swatch in the same manner as your project will be worked. While flat swatches are fine for flat projects, swatching in the round is necessary for projects worked in that manner. This ensures your gauge reflects the tension and stitch pattern of your actual project, leading to a properly fitting finished garment.
While this may sound minor, I just want to share that I never thought knitting in the round was so important until I did a flat gauge swatch for a hat and the hat ended up being way looser and bigger than my gauge had suggested and I had to frog the whole thing. So, I haven’t made this mistake since, and I don’t want you to either!
So, to gauge swatch in the round, you’ll see that most steps are the same as when you knit your swatch flat. However, when it comes to actually knitting it, it is a bit different:
-
You use circular needles and cast on your stitches.
-
Knit across.
-
Instead of turning and purling back, you’ll side your stitches to the other end of your circular needles.
-
Insert your needle into what is now the first stitch.
-
Drape your working yarn loosely across the back, making sure you have plenty of slack.
-
Knit across as normal and repeat until you reach your row count.


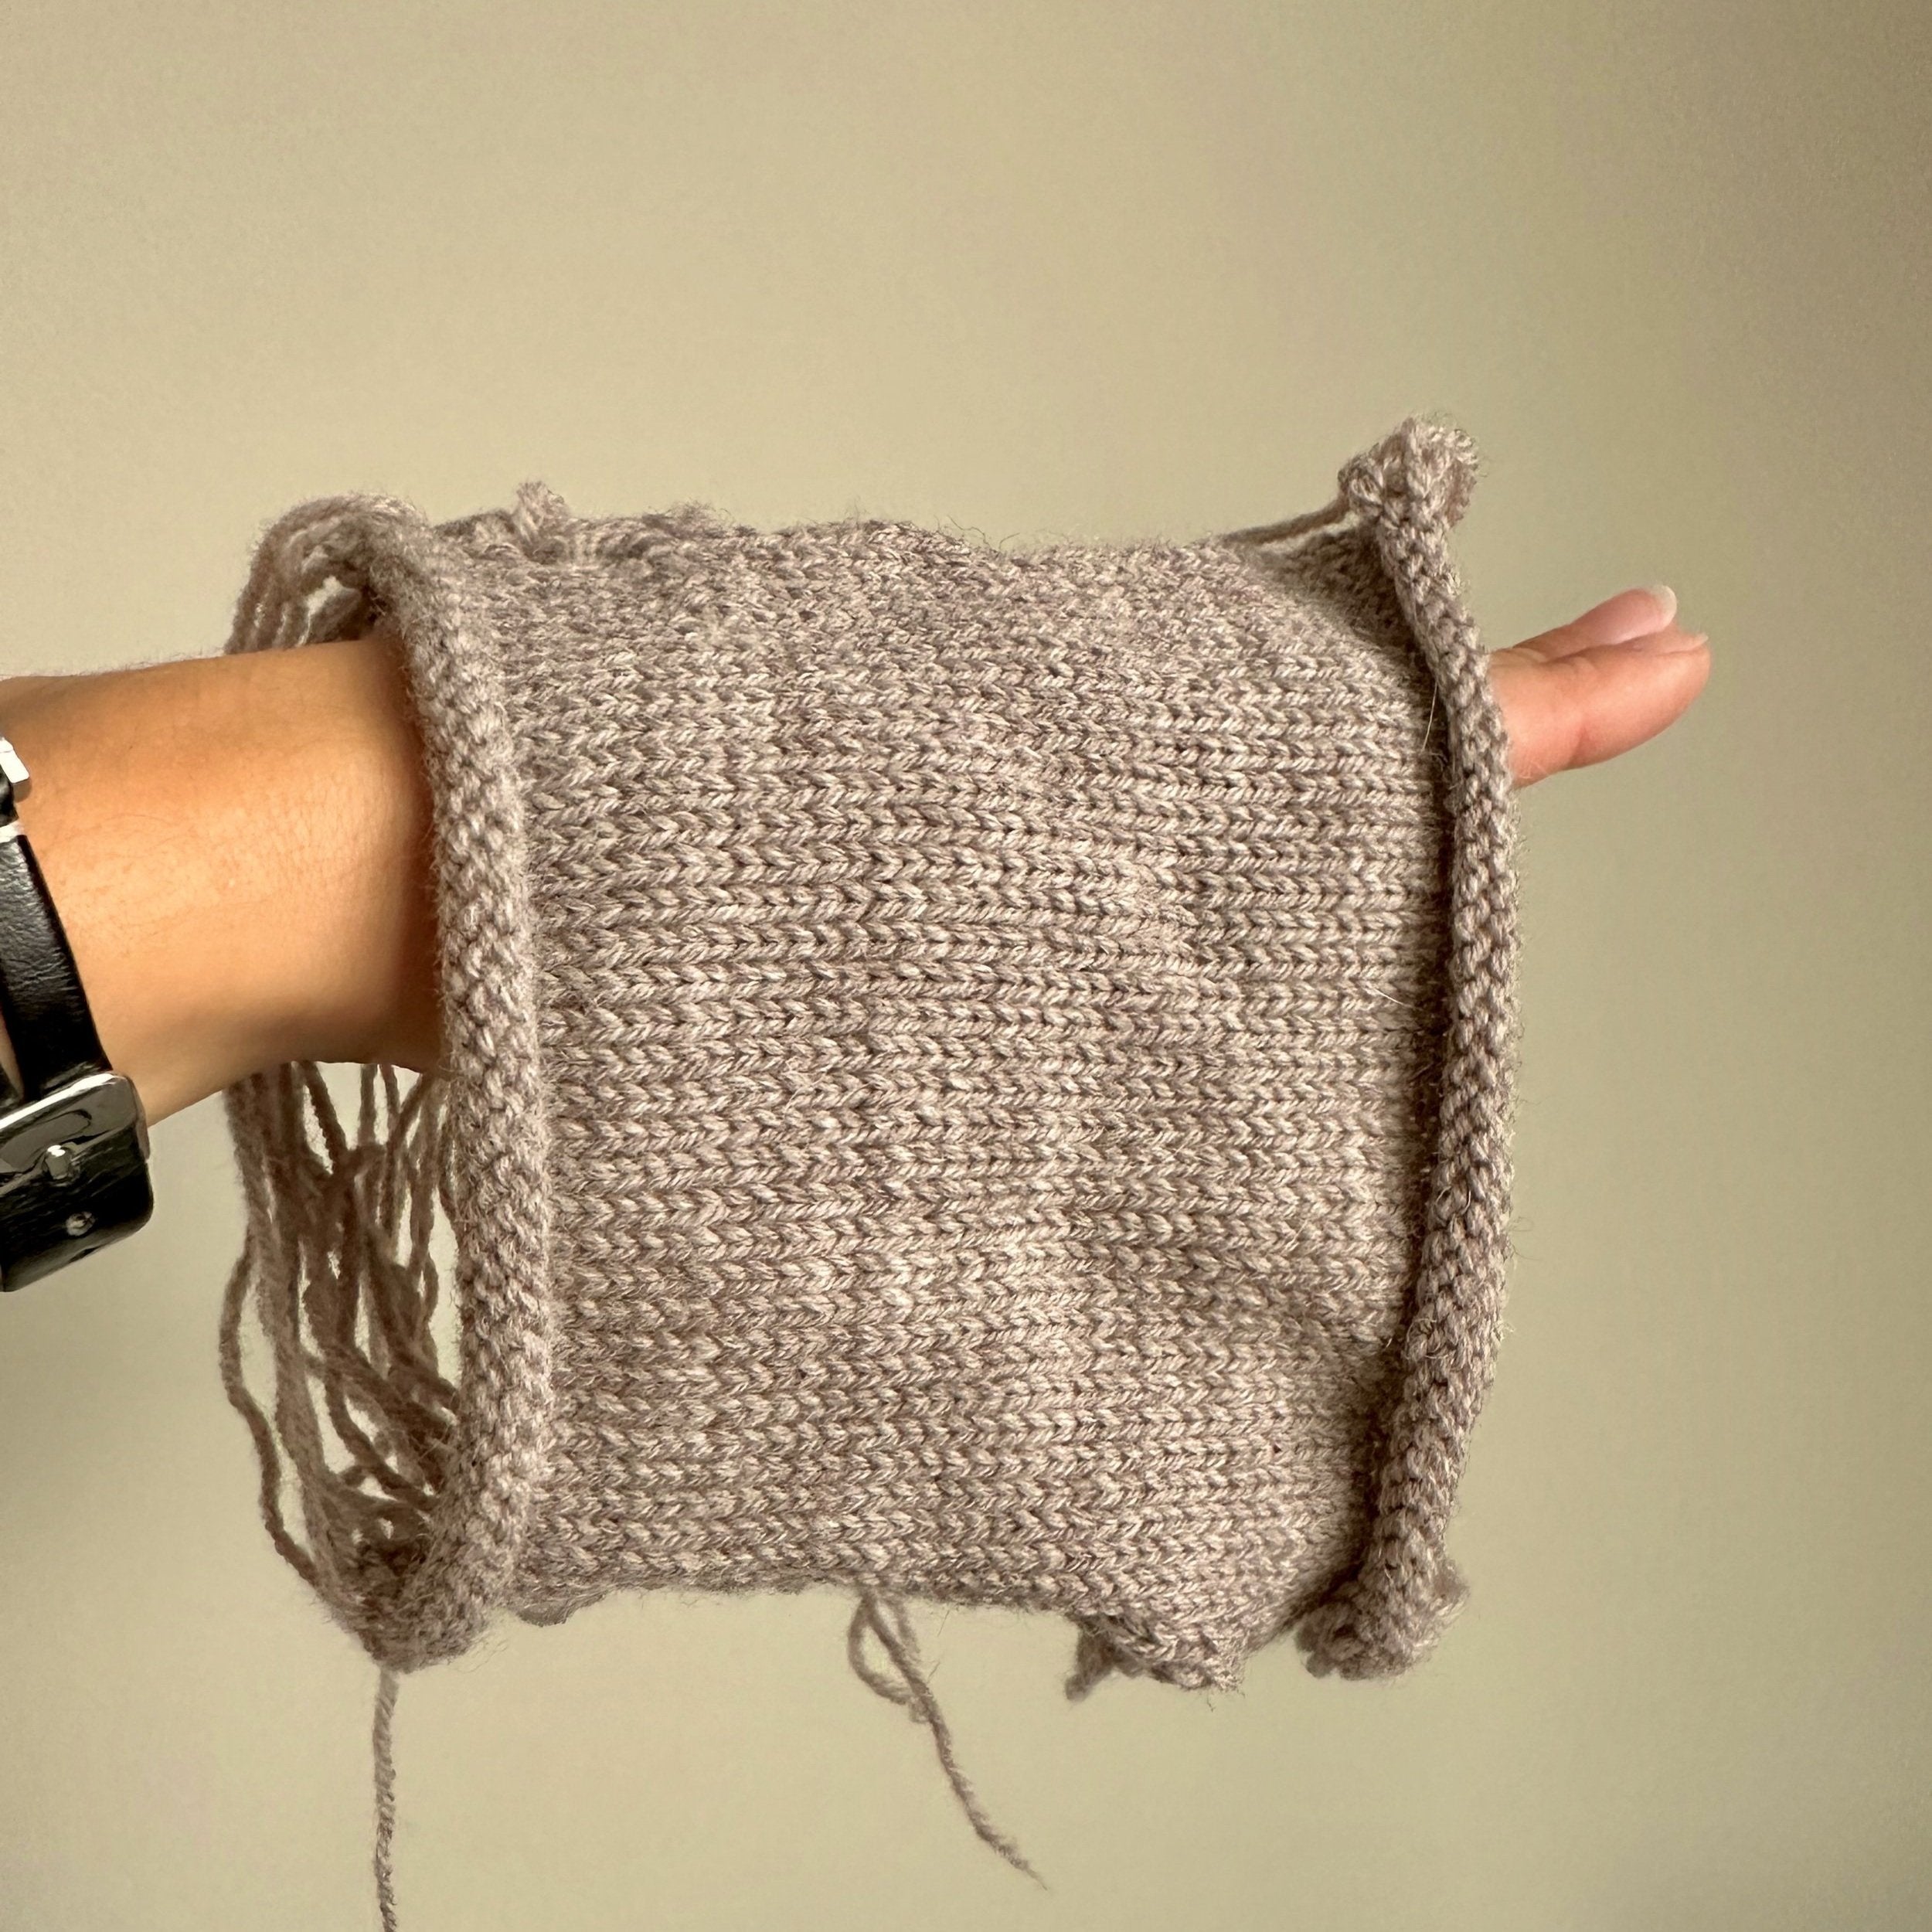
After you bind off, the most accurate thing to do is snip the strands on the back of the swatch. However, I personally don’t do this because I’m always afraid of running out of yarn and I hate feeling like I’m “wasting” the yarn. So I just leave the strands intact in case I want to unravel later and bank on the fact that the swatch is around 6” and I should get an accurate gauge for the 4” section that I’ll be measuring.


Troubleshooting Gauge
Okay, so we’ve got our gauge swatch, whether it’s flat or round. If you’re doing a pattern that lets you use any gauge, just measure it and you’re good to go. If you’re happy with the tension that is.
However, if you’re doing a pattern that calls for a specific gauge and your gauge is off by even just one stitch, we got to do some troubleshooting.
Try a Different Needle Size
The first course of action is to try out a different needle size. If you find your swatch has too many stitches per inch, your fabric may be too dense. In this case, you’d want to go up a needle size to give your stitches a little more room. On the flip side, if your swatch is too loose with too few stitches per inch, you’ll want to switch to smaller needles to tighten up those stitches.

Try a Different Type of Needle
Needle size isn’t the only factor at play - the type of needle can make a significant difference too. If your stitches keep slipping off, causing you to knit tighter to compensate, try switching to wood or bamboo needles. These provide more grip, which can help you maintain even stitches. Conversely, if your knitting is too tight and you’re struggling to move stitches along, metal or plastic needles might be your friends. They allow the yarn to glide more easily, helping you relax your stitches.
Also read: How to Prevent and Fix Dropped Stitches in Knitting
The Impact of Yarn Type
And lastly, the type of yarn you’re using can also impact your gauge. For example, if the pattern calls for a wool yarn, you might find it hard to reach gauge with a cotton yarn.
Different types of yarn behave differently (know more about cotton, wool, and acrylic yarns). They have different amounts of elasticity and some can have more grip on the needles than others. All of this can cause your gauge to be different than the designer’s. If you find yourself having trouble reaching gauge with a certain yarn, compare it to the designer’s recommended yarn. The designer uses that intentionally, knowing how it should behave. So if your yarn is of a completely different composition, you may want to look at trying a different yarn.
All in all, fine-tuning your knitting gauge isn’t overly complicated, but it sure makes a world of difference in your finished projects. By playing around with needle sizes and types, as well as the yarn you’re using, you can fine-tune your knitting to achieve the gauge that will lead to the perfect fit for your project.
Phew! Okay, that was a lot of information, but I really hope you found it helpful! Because gauge is so important, I wanted to give you as much information as I could.

Your FREE Gauge Tracker
Got a handle on gauge now? Great! Now, let me share something super handy: Your Very Own Knitting Gauge and Project Log. It’s totally FREE! Just hit the link below to get yours.
What’s inside:
-
Gauge Tracker: Keep tabs on all your gauge swatches for each project. No more second-guessing for lost notes or forgetting what size needles you used.
-
Project Log: Dump all your project details and notes here. Yarn choices, pattern modifications, you name it! It’s all in one spot.
-
Project Dashboard: Get a quick look at looking at your knitting habits with insightful metrics like what yarns you use most, and how long your projects are. And there’s a nifty chart to track your finished project fit. Sweet, right?
It’s a nifty tool for staying organized. Because, let’s be honest, while gauge swatches are important to make, they aren’t the most fun. And they are even less fun when you have to remake them because you forgot to write down what yarn or needle size you used. Overall, this a super handy log to use as you knit your wardrobe. No need to bring a notebook!
Get the FREE Knitting Gauge and Project Log now.
Now it’s your turn! Do you have any tips on how to achieve super-accurate gauge swatches? Have any questions? Share your thoughts in the comments below!