We all know how crucial the right casting on technique can be for our knitting projects. It sets the foundation for our work and can make all the difference in the final result. Well, today I'm excited to introduce you to the two-needle long tail cast on, a super easy and versatile method that will help you create a stretchy edge and possibly even skip doing provisional cast on!
Why not just use the traditional long tail cast on?
The traditional long tail cast on is one of the most common cast on techniques used in knitting. It involves creating your cast on stitches using a long tail (hence the name). This cast on is popular because it produces a flexible and sturdy edge that's suitable for a wide range of knitting projects, and it’s also quick and easy once you get the hang of it!
Learn how to do the traditional long tail cast on method.
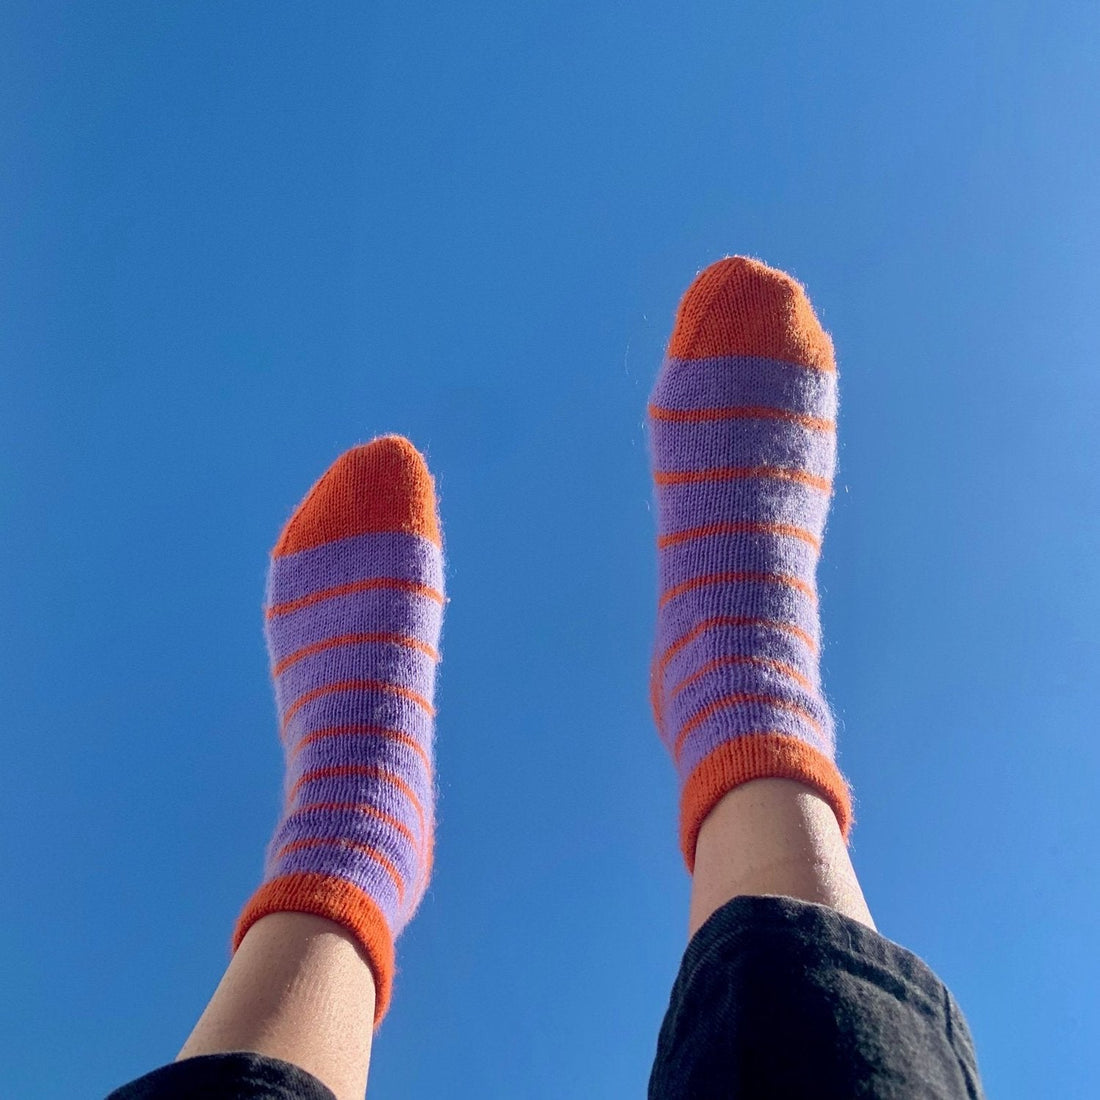
However, one downside with the traditional long tail cast on is that edge, while flexible, is not exactly stretchy. This can make your finished knit projects difficult to take on and off because the sturdy edge doesn’t have enough stretch. For example, if you use the traditional long tail cast on to cast on the collar of a sweater, you might find it difficult to get that collar on an off your head.
The long tail cast on method with two needles is essentially the same as the traditional long tail cast on method, but gives your cast on edge the stretch it needs!
What is the long tail cast on with two needles?
The long tail cast on with two needles is a versatile and beginner-friendly knitting technique that simplifies the process of casting on stitches while providing a neat, stretchy edge to your projects. By holding two needles parallel to each other and working the yarn around both needles simultaneously, you create larger cast on stitches, giving your project the stretch it needs to fit comfortably. It also works great when creating a folded hem, brim, or collar with the cast on edge because the larger cast on stitches make them easier to pick up and knit into.
This method is perfect for a wide range of knitting projects, from cozy socks and hats to comfortable skirts and tees. It can even replace the need for a provisional cast on in many cases. Give the two-needle long tail cast on a try, and you may find it becomes your go-to technique for all your future knitting endeavors!
Materials needed
For this technique, you will need yarn as well as two knitting needles. For the size of the needles, I recommend that both needles are the same size, and that size should be the size that the pattern you’re working on calls for. For example, if your pattern calls you to work with 5mm knitting needles, you should have two 5mm knitting needles for this cast on. However, if you don’t have two needles of the same size, I suggest going down in size .5mm or, if needed, up in size .5mm. As long as the needles are similar in size, you will be just fine.
As for the type of knitting needles you can use for this, I suggest that your main knitting needle (the one you plan on using for the project) is the type of needle you need. For example, if your pattern calls for a 16” circular knitting needle, use that.
For the secondary needle, it really depends on what you have on hand! You can use a circular knitting needle with the same cord length, or a cord length that is longer or shorter. You can also use a double pointed needle or a straight needle! It doesn’t really matter, since you’ll be removing this secondary needle when you’re done with the cast on edge anyway. What matters is that the tip of the needle is of the same or similar size of your main working needle.
How to do the long tail cast on with two needles
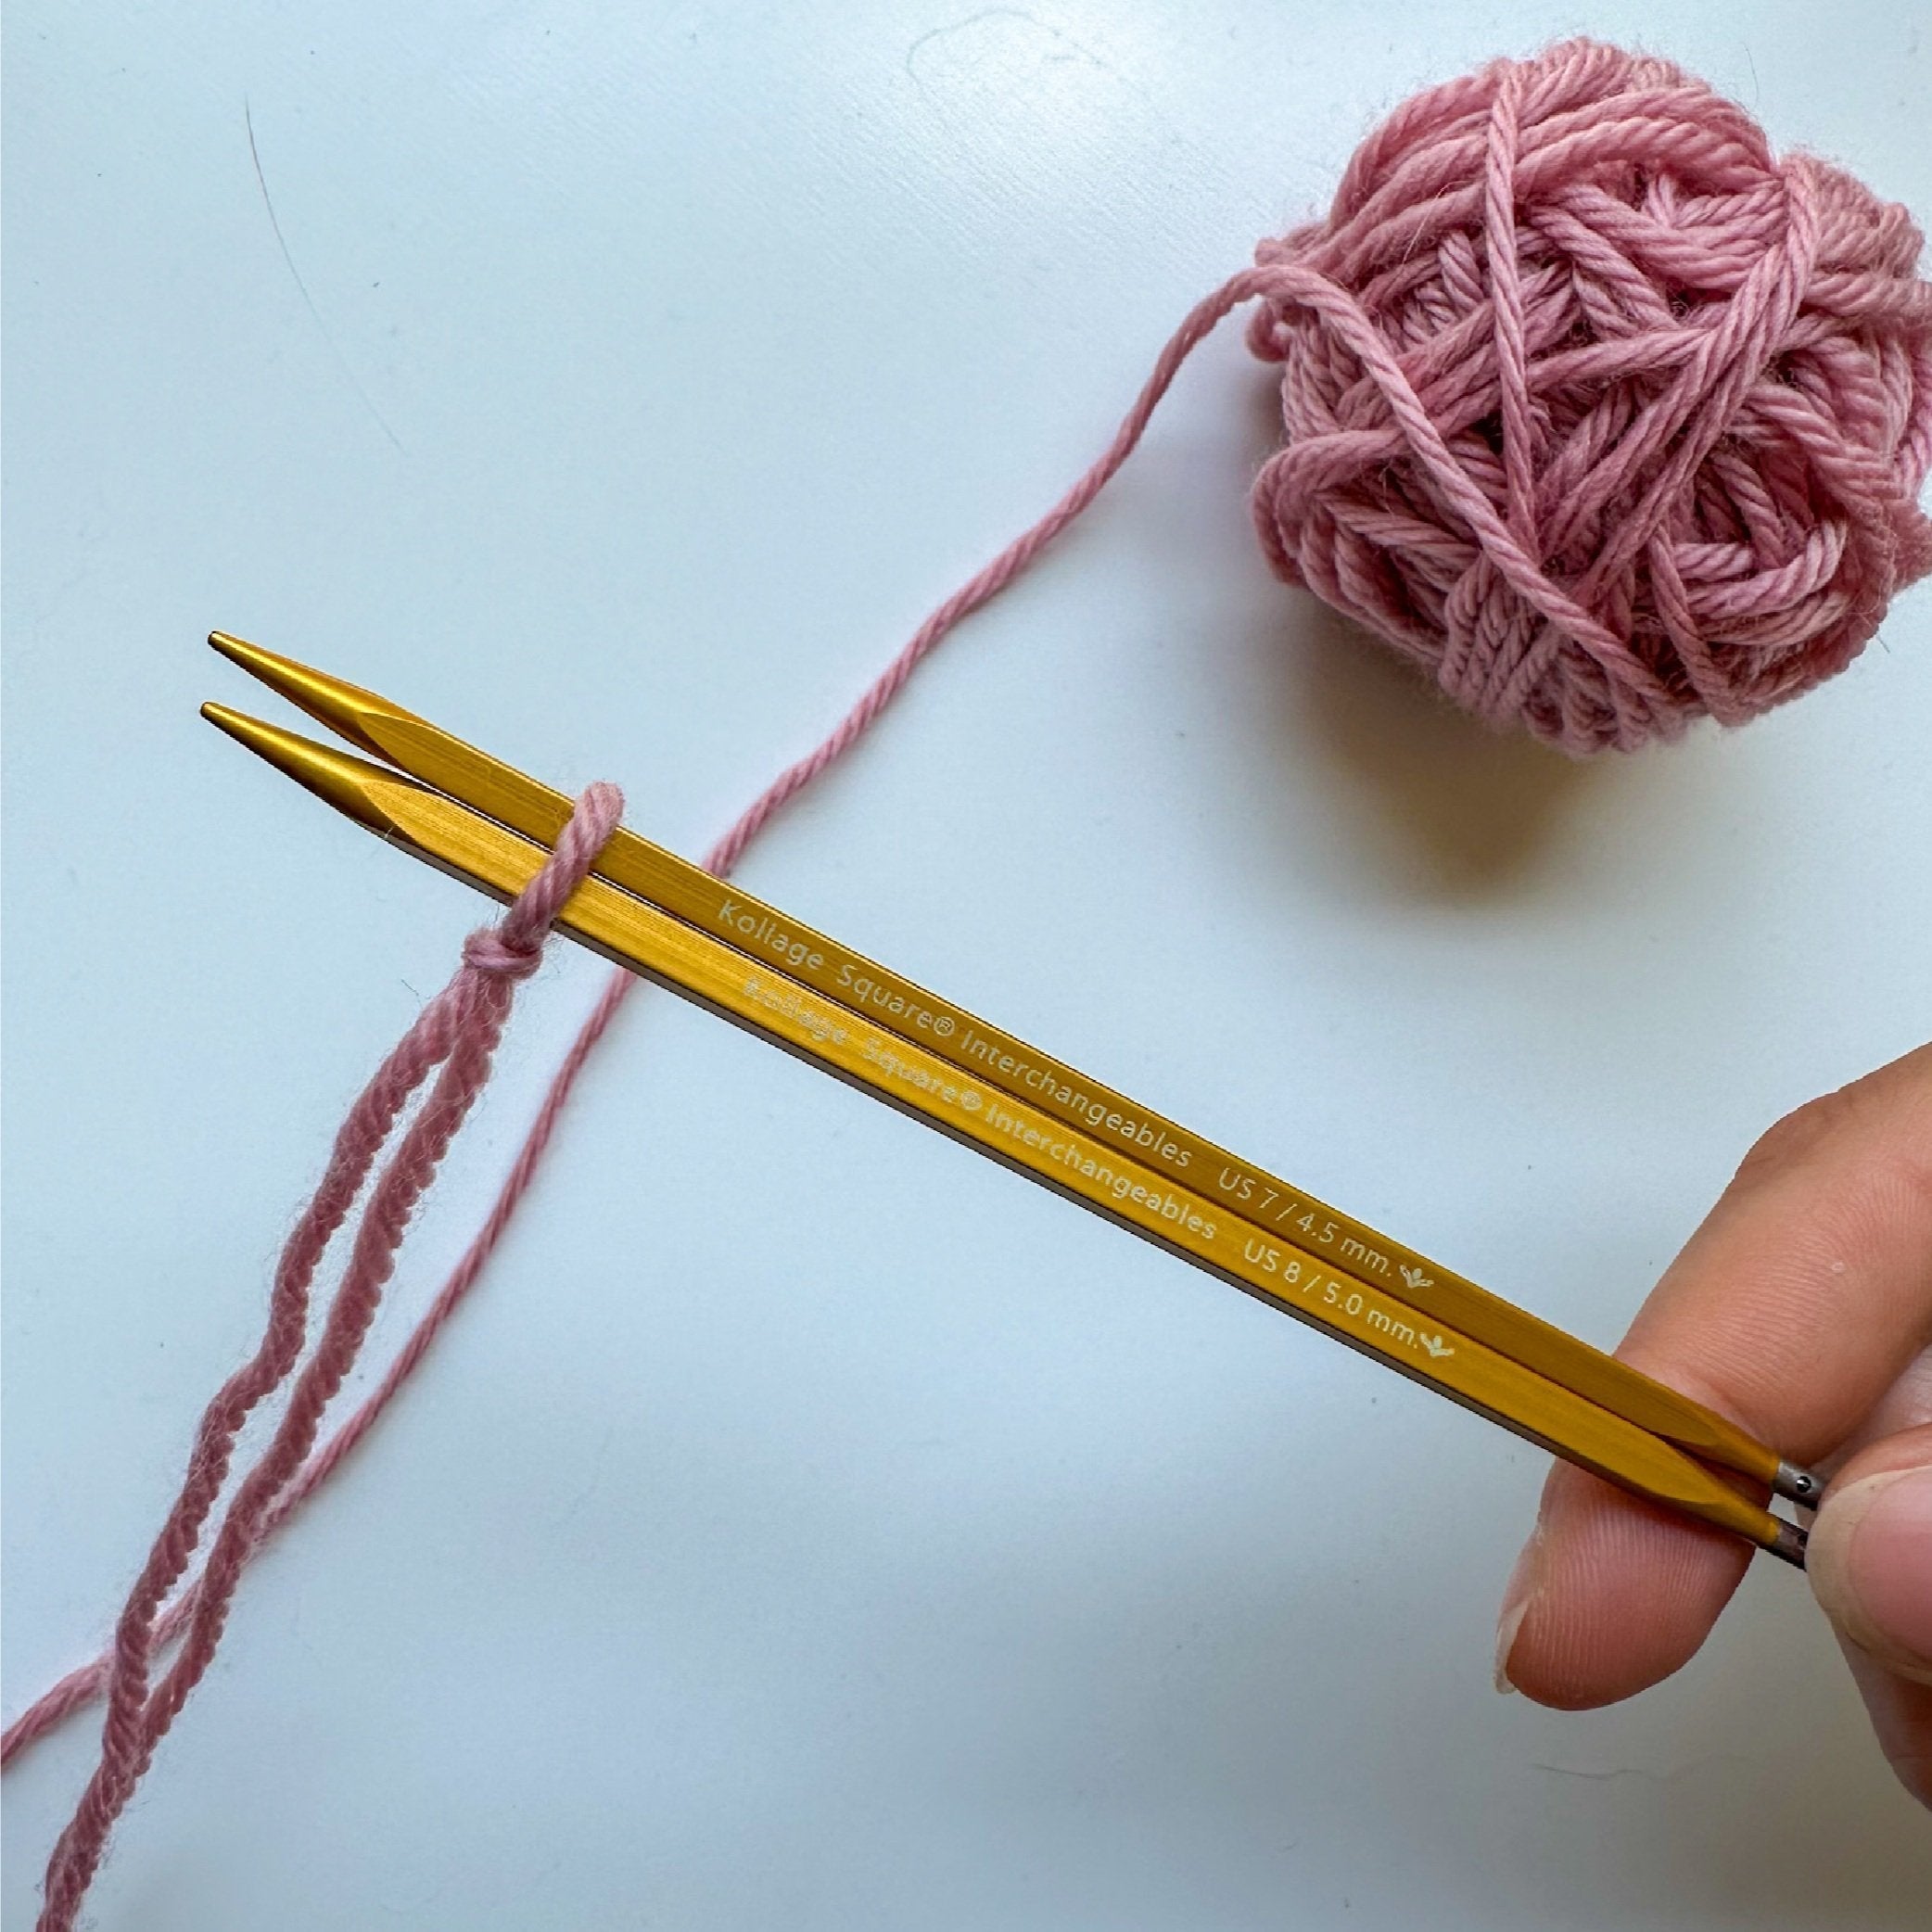
Check out the step-by-step instructions as well as the video tutorial below to learn how to do the long tail cast on with two needles. In this tutorial, I am using the Everyday Merino yarn, which is my absolute favorite superwash worsted weight yarn, in the color Petal. I am also using my square needles, which is part of the Kollage Square Gold Set of Interchangeable Needles. These square needles are ergonomic and help prevent wrist and arm pain. If you want to give them a try, use my code NEWWAVE10 for 10% off your purchase! (Please note that these links are affiliate links. If you make a purchase after clicking, I earn some yarn money at no extra cost to you!)
Step 1
You’ll need to start with a long tail. My favorite way to figure out how much yarn you’ll need for the tail is to give yourself about 2.5 times the amount of yarn you’ll need for the circumference of what you’re going to be making.
For example, if you’re casting on for a hat, wrap the yarn around your head 2.5 times. You may look a little silly doing it, but it works!
When you have figured out how long your tail should be, make a slip knot at that point in the yarn.

Step 2
Grab the two knitting needles you will be using for this cast on.
Place the slip knot on both needles.
Pull the tail and working yarn to adjust the size of the knot so it rests comfortably on your needles. The knot shouldn’t be too tight or too loose. You should be able to slide it along your needle easily.

Step 3
Now, we begin doing the long tail cast on as normal, just while holding two needles at the same time!
So, grab both strands of yarn below the slip knot on your needles. With the tail in the front and working yarn in the back, separate the two strands with your thumb and forefinger to make a diamond shape as you hold them together with your middle, ring, and pinky fingers.

Step 4
Move your knitting needles down and to the left, and insert it under and through the loop that is hooked around your thumb in an upward motion toward your index finger.

Step 5
With your knitting needles moving towards your index finger, continue this motion over and under the loop around your index finger.

Step 6
Continue this motion with your needles moving back to the left and through the loop on your thumb.

Step 7
Drop the loop off your thumb and gently tug the strands of yarn to cinch it on the needles (but not too tightly!).

Step 8
Repeat until you have all your cast on stitches on your needles! When you have all your cast on stitches, simply remove your secondary needle. You will notice that the cast on stitches rest loosely on your main working needle.
Tips for doing the long tail cast on with two needles
Running out of tail yarn
Make sure that you've estimated enough yarn for your tail before you begin. It's better to have a little extra than not enough! Again, I recommend the length should be about 2.5 times the length of whatever the finished cast on edge should be. For example if you’re knitting a hat and your head circumference is 21 inches, your tail length should be about 52.5 inches.
If you do run out of tail yarn, you’ll simply have to start over. If you find 2.5 times the length is not enough for what you need, the try tripling the length.
Change in tension
One important thing to note with this cast on method is that the first few rounds or rows of stitches after the cast on edge will be slightly looser in tension compared to your gauge swatch and the rest of your knitting project. I prefer to use this cast on method when I know I will be folding the hem, brim, or collar because those early rounds or rows will be hidden and that loose tension doesn’t impact the rest of the piece.
Practice, practice, practice
If you’re about to start a pattern with a two needle variation of the long-tail cast on, I recommend just practicing the cast on first. Don’t pressure yourself to get it perfect the first time! Simply cast on stitch after stitch and don’t worry about counting. Just keep going until you feel like you have it down and your cast on stitches are sliding easily on the needles while still hugging them comfortably. Like with any other art form or craft, it takes practice to get the technique down!
And there you have it, knitting pals! The two-needle long tail cast on is a game changer in the world of knitting, providing a quick, easy, and reliable technique for your projects. Give it a try, and don't forget to have fun while you're at it! I'd love to hear about your experiences and see your projects using the two-needle long tail cast on. Be sure to share your thoughts and experience with it in the comments section below. Happy knitting!
Want a tutorial for a specific knitting technique? Let me know in the comments! And be sure to sign-up for the New Wave Knitting Circle Newsletter so you never miss a blog post or tutorial.