Designing and selling knitting patterns can seem like a quick, easy, and simple way to earn money as a knitter. However, if you’re just starting to learn about the process, let me set the record straight: knitting pattern design takes a lot of work. But it can also be fun, rewarding, and a great way to earn money doing something that you love! If you’re interested in learning how to design, edit, and sell your first knitting pattern, keep reading for the step-by-step process I took when designing my first pattern, the Staple Skirt. And make sure you get to the end of this post for a gift! (Spoiler alert: It’s a free checklist that helps guide you through the pattern designing process laid out in this post!)
1. Create a sample (or two) of your pattern
Before we can sell a pattern, we have to come up with a design first. People come up with their initial designs and samples in different ways, but there seem to be two main methods that knitters lean toward.
The first method is a freestyle-like design strategy. You may have a design in mind and work to achieve it, or you may just go where your needles take you. You may make notes as you go, or maybe you prefer to work backward after the sample is complete and draft a pattern on the techniques you used.
I’m a fan of the second method, which is a more pattern-forward way of designing. With this method, you have a design in mind at the start. After creating a gauge swatch, you work through your measurements and math and create a very rough draft of a pattern to achieve the design you’re dreaming of. Then, you can cast on, take notes, and make adjustments to your draft as you go.
Either design method, or ANY design method, is totally cool. Do whatever works best for you and your brain! But whichever way you like to design, expect to do some frogging.
After I finished my first sample of the Staple Skirt, I was a bit intimidated about the design process as a whole and wasn’t motivated to keep going. I ended up sharing a post on Instagram about the design to see if people would be interested in a pattern. I got so much love and support for it that it renewed my excitement in the design. So if you’re feeling a little iffy about your design at this stage, I recommend that you share it on social media and feel the love pour in.

After getting that much-needed boost of motivation, I decided that I wanted to make a SECOND sample of the Staple Skirt, which ended up being very beneficial. While creating my second sample, I experimented with different features for the pattern, like different cast on and bind off methods. I also added a slit in the second sample of the skirt. From creating that second sample, I was able to choose which features worked best in the pattern, and I ironed out how to incorporate adding a slit as a customizable option.

I highly recommend doing something similar, especially if you’re working on your first design. It can help you figure out which techniques work best, and it helps ensure that your first sample wasn’t just a fluke! Moving forward, I plan on always creating at least two samples. However, I may create the second sample along with my test knitters so I can better work through any pattern kinks with them.
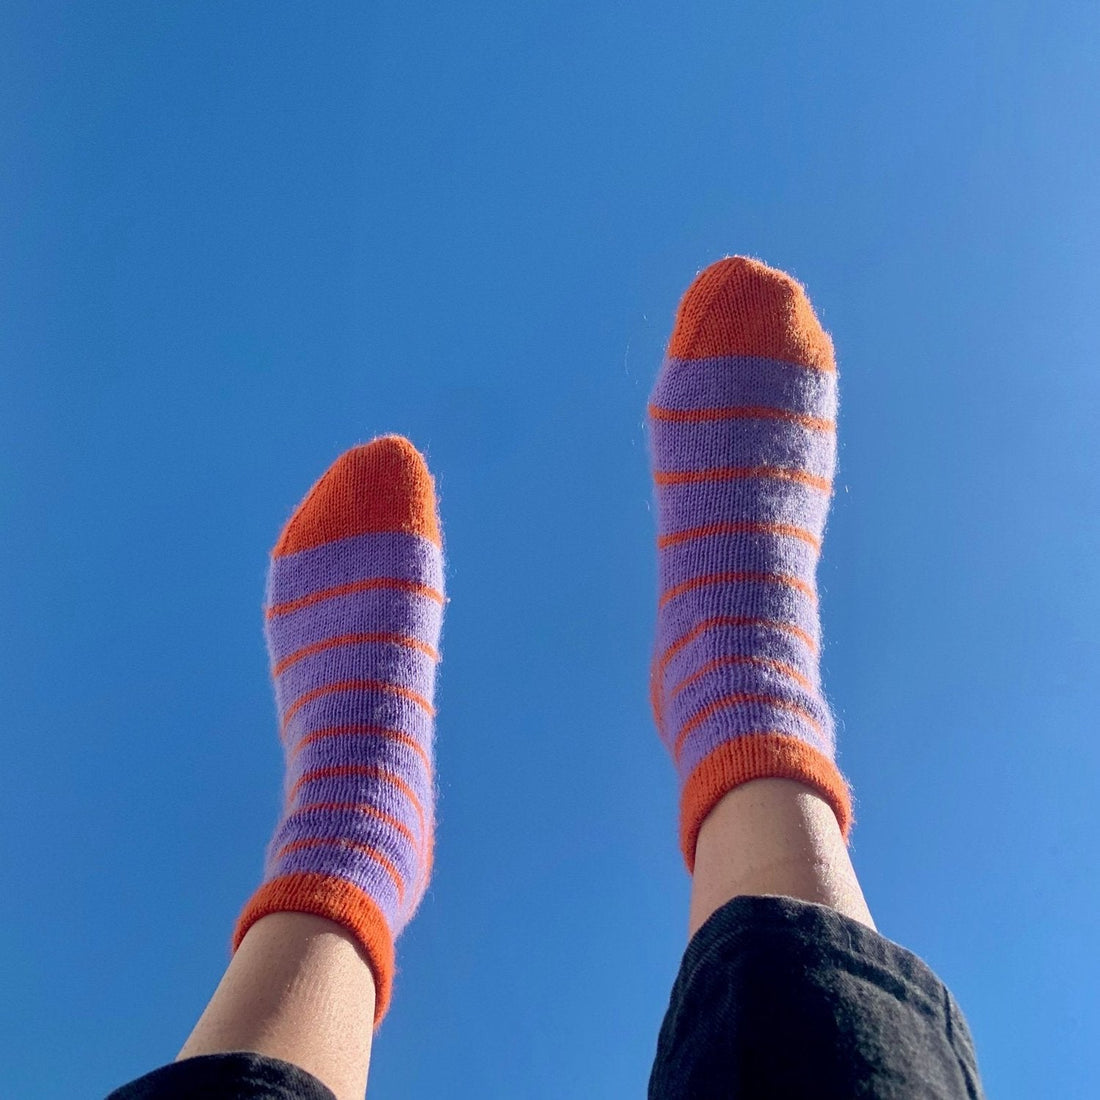
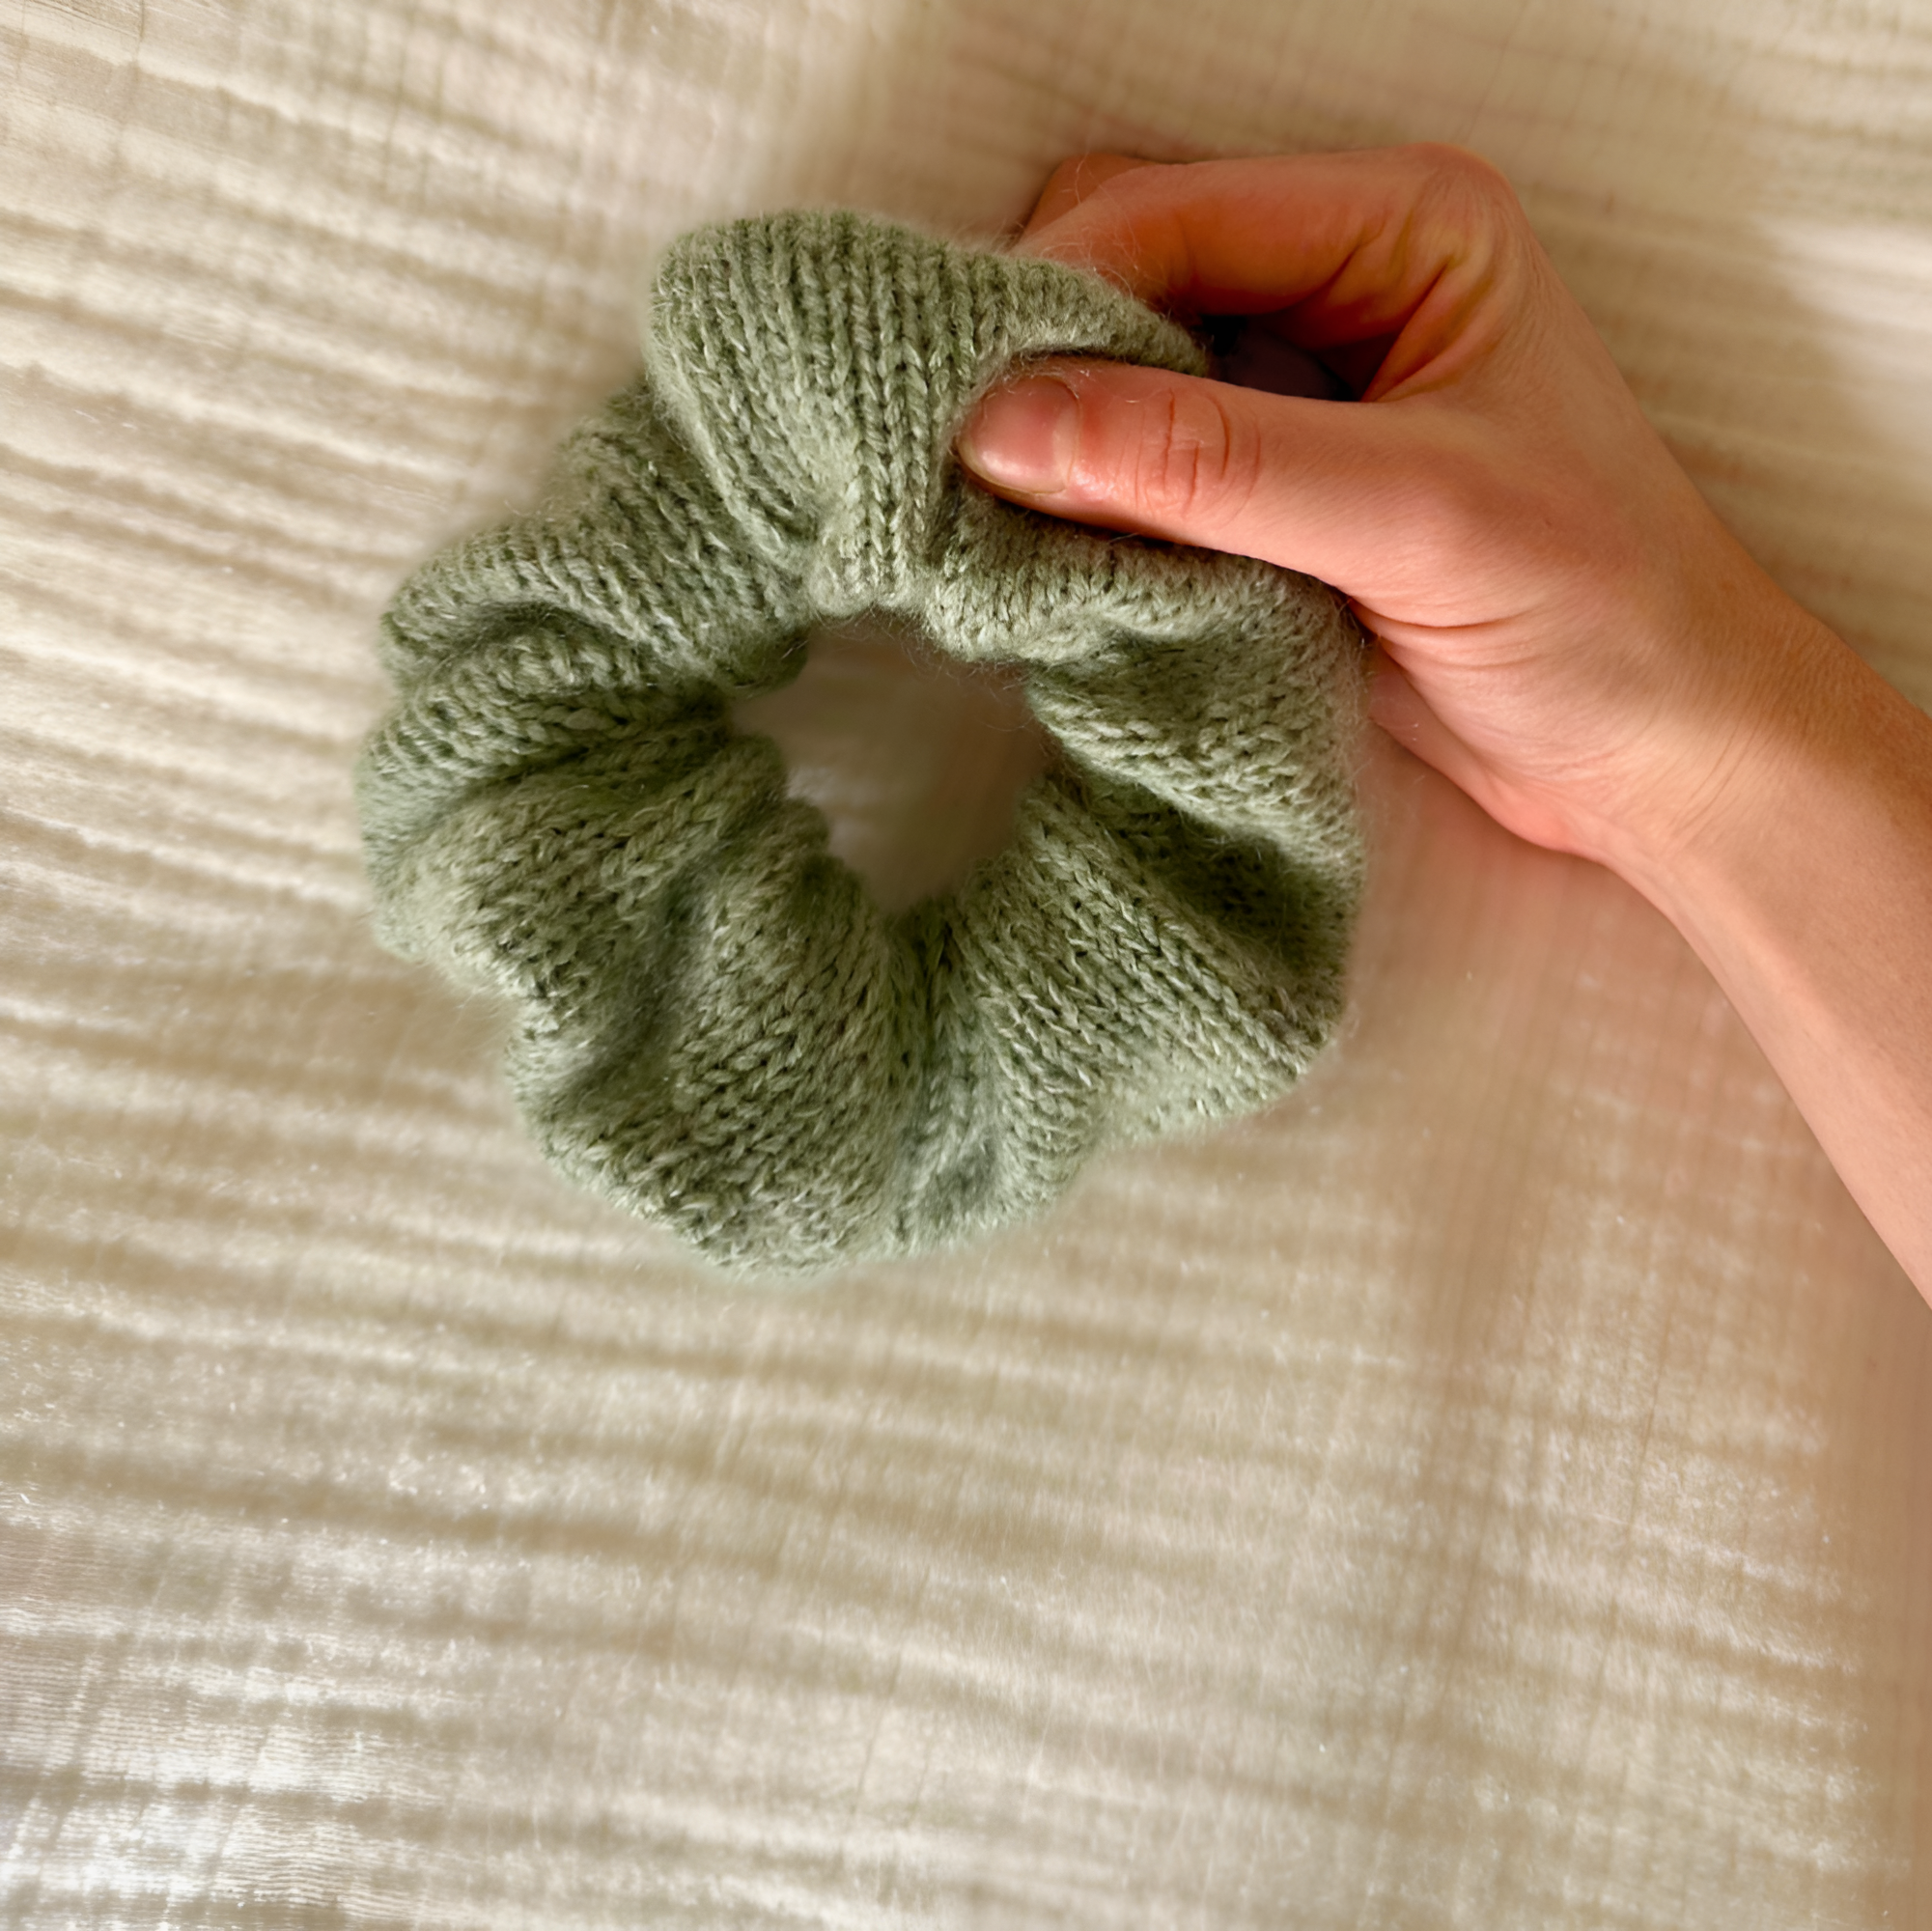
2. Take pictures/videos while you make your sample(s)
While you are making your first and/or second sample, try your best to take pictures or videos of your work to help document the important nuances in the pattern and the techniques you use. Taking pictures and videos of these things will amp up the quality of your pattern and help clarify any potential questions from testers and future knitters! And taking pictures and videos while you make your sample(s) will save you lots of time later, so you don’t have to recreate anything later while you're working through the future steps.

3. Write up a draft of the pattern
After finishing your sample(s), it is time to take your notes or your very rough draft and translate them into a legit draft. Make sure to include details like yarn, needles, gauge, materials, and all the other sections you find at the beginning of knitting patterns. I recommend that you reference a knitting pattern or two that you like and see what they included and how they ordered these sections. And of course, you’ll want to give step-by-step instructions on how to make the design.
This draft can be as basic or as pretty as you want. Some designers like to give their testers something that looks like a finished product right from the jump. Although, when I was at this stage for the Staple Skirt, I wasn’t sure how I wanted to design the final pattern. With it being my first pattern, I was positive there were going to be tons of edits, and anything I wrote at the beginning would surely get moved around a lot. (And I was right, by the way!) Instead of spending too much time on design at this point, I created a basic Google Doc and made sure the instructions and information were easy to follow. It wasn’t the prettiest, but it was functional.
4. Work with a tech editor
Not all knitting pattern designers work with a tech editor, but I highly recommend it. Tech editors are people who are trained and knowledgeable in pattern design. While reading through your pattern, they are able to weed out any math mistakes. They will also make sure the writing is clear and logical, and they will make the language and abbreviations consistent throughout.
Tech editors are also skilled at grading and can help you make sure your pattern fits all body sizes well. And while it is ideal to get testers of all sizes and at least up to a size equivalent of 5XL, that doesn’t always happen. Having the pattern professionally tech edited allows you to still list your pattern up to that size, even if you can’t get a tester for a specific size.
Overall, I found that having the Staple Skirt tech edited really helped to make the test knitting process smoother. There were fewer errors and awkward language, which lead to more happy testers who didn’t have to frog or fix any mistakes.
Test knitting does cost money, so this may not be an option for everyone. However, I think it is an investment that pays for itself in the time and headaches it may take you to answer questions or fix mistakes and send an update of the pattern out to everyone who has purchased it.
The tech editor I hired for the Staple Skirt is Tegan Shepherdson, and I can’t recommend her enough. She was so supportive throughout the whole design process. However, other resources for you to find a tech editor include The @techeditorhub on Instagram and the Tech Editor Hub Facebook Group.
5. Call for Test Knitters
Now that we have our samples, a draft of the pattern, and the pattern tech edited, it is time to call for test knitters! Test knitters help ensure that the pattern makes sense, reads well, works, and creates a finished object that fits them well.
Instagram is a great place to call for and find testers. Posting a picture of your design with the hashtags #testknittersneeded and #testknittingcall is a simple way to get your design in front of potential test knitters. If you’re not an Instagram user though, you can also check out Yarnpond and Ravelry! (For Ravelry, go to Ravelry → Community → Forums.)
Learn more about the purpose of test knitting.
When calling for test knitters, you’ll want to give clear expectations, such as:
-
What the deadline is and if it is flexible or not
-
If testers can make modifications or use yarn other than the yarn you made your sample with
-
If pictures are required at the end
Lay all of these expectations out clearly wherever you plan on having them apply. (I used Google Forms.)
There are two pieces of advice that are especially important for you to consider when calling for testers:
-
Set a test knitting deadline that is a week or two longer than you think it takes to knit for a slow knitter. When you factor in shipping time and life in general, having a reasonable deadline decreases a lot of stress on your test knitters. Also, your deadline should not be the same day you expect to release your pattern. You should give yourself at least a few days, if not a week after test knitters finish, to apply all of their edits and suggestions to the final draft of the pattern.
-
Get twice as many testers than you need. If you’re making a set-size pattern, then get two testers per size if possible. If you’re making a made-to-measure pattern, like the Staple Skirt, then I recommend getting a tester for each increment of the garment’s main measurement. For example, the skirt’s main measurement is the waist measurement. I got at least one tester per waist inch. (For example, one tester with a 34” waist, one tester with a 35” waist, and so on.) Having this many testers helps in case any tester can’t complete the test knit or in case they end up ghosting you (which, unfortunately, sometimes happens).
After putting out the test knitting call and you get all the test knitting applications rolling in, choose your testers! Contact them and send them the draft of the pattern. I also suggest repeating the expectations you laid out in your test knitting call and providing them with any additional information they need.
6. Work with test knitters
The whole time that you are working with your test knitters, you should always keep in mind that they are dedicating their time, energy, and money to do something for you with very little return besides a free pattern and a (hopefully) fun knitting experience. Treat them with kindness, respect, and patience. Be prompt at answering their questions and/or set boundaries on when you’ll be answering and communicating with them.
One thing I didn’t do when I ran the test knit for the Staple Skirt was set a boundary on when I would respond in our Instagram group chat. I always felt the need to respond immediately, which was helpful for them but left me feeling a little burnt out by the end of it. Setting a boundary on communication is something I’ll be sure to do at the beginning of my next test knit.
Communication really is key to making this whole process enjoyable for all. If a tester has a question, do your best to answer it and ask if what you said makes sense. If they have an edit, apply it. If they have a suggestion, truly think it over. If you aren’t sure about it, ask to see what your tech editor thinks (if you have one!) or what other test knitters think. If you want to include their suggestion, do it and thank them for thinking of it! If you don’t like the idea, explain that you thought about it but decided not to include it and for what reason. Thank them for their suggestion. Again, communication is key.
Get recommendations on how designers can create the best test knitting process from fellow knitters!
7. Set up and collect feedback forms
When you are getting close to the end of your test knit, or when you notice some of your test knitters are starting to finish the pattern, it is always a great idea to set up a feedback form. Feedback forms are an easy way for you to collect any final notes, pictures, or thoughts from your test knitters.
In the feedback form, which I made on Google Forms for the Staple Skirt, I asked my test knitters a number of questions, including:
-
What kind of yarn did you use?
-
How much yarn did you use?
-
What was the final measurement of the garment?
-
Do you have any feedback on how I ran the test knit?
-
Do you like the finished object? Why or why not?
I found the answers to these questions incredibly insightful (and also sweet), and they helped inform me on how to run a test knit even better the next time.
If you collect photos, the yarn used, and measurements from your test knitters, you can also ask if it is okay to share their photos with that information to help future knitters choose yarn and know how much they may need. (I always find that super helpful as a knitter, and am so glad all of my testers were okay with sharing that information.)
8. Create a final draft of the pattern
Once you have all of your notes from your test knitters, it is time to work on the final draft of your pattern! As I mentioned in step 3, my rough draft of the Staple Skirt was in a Google Doc. To make a final draft, I took all of the content and any additional notes or suggestions from my test knitters and compiled it into a nicely designed final draft. I used Canva to design the Staple Skirt pattern, but you can make a nicely formatted Google Doc or Google Slides presentation. Whatever you feel most comfortable with.
After inputting all the information needed into the final draft of the pattern, I recommend sharing it with your test knitters and your tech editor for a final look-over. After applying any last-minute edits, you’re good to move on to releasing the pattern!

9. Release the pattern!
While saying “release the pattern” sounds quick and simple, this step actually involves a bit more work. Ideally, you’ve been leading up to your launch date by sharing pictures and information about the pattern during the week or two prior the pattern release date. Sharing details about your pattern ahead of time can help build excitement and lead to a successful launch.
At least a day before your pattern launches, you’ll want to prep the pattern listing wherever you plan to sell it. For me, that was Ravelry, Etsy, and my website. I had experience with making product listings on both my website and Etsy before, but I found Ravelry to be especially tricky. I found this article to be a great resource. (Also, be sure that the designer name of your pattern is your actual name, and do not put text on your pictures. I made both of those mistakes, and my pattern was not approved until I fixed those items. That was definitely NOT stressful at all on the morning of the pattern release day.)
Prepping listings can be quite time-consuming, especially if you plan on incorporating most or all of your test knitters' photos. If you’re on Instagram, I recommend sharing stories that can be saved to a highlight on your profile. (As we discussed in step 7, sharing photos, the yarn used, and measurements from your test knitters can be super helpful.) Sharing stories and creating a highlight before the pattern is released can help inform interested knitters, allowing them to get the materials they need to make the pattern as soon as it is released. It also creates a resource they can easily refer back to.
When the day of your pattern release finally comes, make your pattern live and share, share, share! Sharing a post with your test knitters in it (and making sure to tag them) is a great strategy and helps encourage your test knitters to share your new pattern launch.
If you’re on Instagram like I am, I actually found the day of the pattern launch to be quite exhausting. My launch date was on a regular work day, and I found it really hard to focus on my job haha. I got lots of love and support but had lots of messages, comments, and questions to respond to. I highly suggest you mentally prepare yourself and store up lots of energy for the day of your release. Also, if possible, maybe try to take the day off work? I think I’m going to do that next time.
11. Rest + Keep Sharing
Congratulations!!! When you get to this step, you are OFFICIALLY a knitwear designer. How freaking cool is that?!!
Also, when you finally get to this step, there is a good chance you’re feeling a bit burnt out. I definitely was. It’s okay to rest! Personally, I took a few solid days away from my computer and phone.
Once you find your energy is restored and at a healthy level, I want you to be mindful to keep sharing your design! Lots of knitters haven’t seen it yet, and sharing it only when it launches is not giving your hard work the love it deserves. Be sure to keep sharing your design maybe once a month or so. It’s up to you. But if you keep sharing, it will keep finding more people, and you might make more sales, too! Yarn ain’t cheap!
Phew! Knitting pattern design is not a get-quick-rich scheme. It is a lot of hard work, but it is fun and very rewarding. If you found this (very long) blog post helpful, then I have a gift for you! If you’re interested in designing and selling knitting patterns, then check out this FREE Knitting Pattern Design Checklist. It breaks down all of the steps listed above to help your design process stay on track, whether it is your first, twentieth, or hundredth knitting pattern design. It also gives you space to allocate deadlines to each step so you can complete each step needed to reach your pattern release date on time (and not in a frenzy).
Get your FREE Knitting Pattern Design Checklist!